Practical Skills
- sydneyrswitzer
- Jun 20, 2024
- 7 min read
A big part of my Forest School training has been learning new outdoor skills and refining old ones. Assessment not only includes being able to do the actual thing, but doing it in a safe and managed way, where you take care of yourself, the other people, the environment, and also the equipment we're using. This post comprises some of my assessment and learning around these skills.
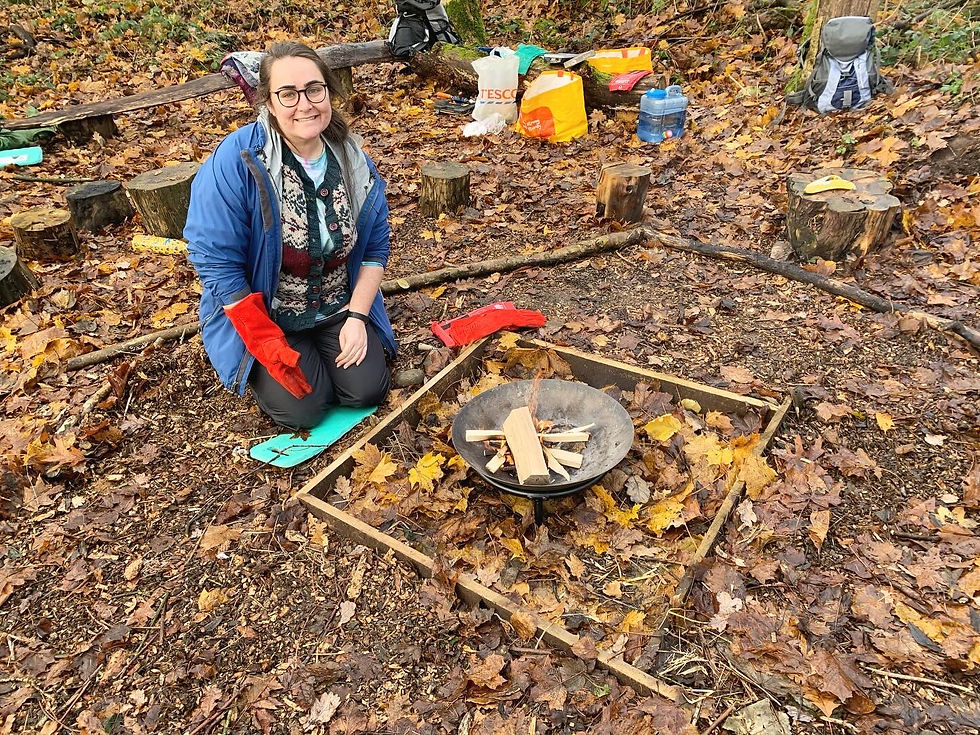
Building a Fire
Building a fire is a great part of many Forest School activities, but it's important to do it in a safe way. A boundary should be put around the fire, with only one person allowed inside at a time, or without permission. This will stop accidents which could cause people to burn themselves. You need to have fire gloves, a fire blanket and water nearby to handle the fire.
The ground should be cleared of any constructs, i.e. big stones, unruly nettles, etc. You should make sure to pick a place which will have minimal impact on the landscape, so a place with lots of growing plants is probably not ideal. In addition to harming the plants, they could pose a fire risk. It's best practice to raise the fire off the ground in a fire bowl, so as not to damage the ground.
A variety of materials can be used for tinder - wood shavings, straw, hay, cotton balls, grass, pinecones, char cloth, or even fire starters (although that's no fun).
You can create a spark using matches or a lighter, but it's best to use a flint and steel. It's less dangerous, because the sparks will have less of an impact than a proper flame if they land on anyone, but it also gets the participants involved and teaches them new skills. It also holds up better to getting wet than matches.
For kindling, it's best to bring your own wood, so as to not deplete the resources of the woodland. It also guarantees that you have a good, dry supply. There are certain types of wood to avoid burning, like rhododendron, as it may have negative health effects.
When lighting a fire, it's important to consider the weather. If it's too windy, you may need to set up a break, like a tarp, or use the natural landscape to create shelter. We also want to make sure that the wind is not so intense that it will blow sparks into the woods, posing an additional fire risk.
When the fire is burning, only one person should be in the fire circle at one time, except with permission. The fire should be constantly supervised by one of the leaders. Additional logs should be added as needed to keep it going. When working on the fire, you should always wear fire gloves, and be sat in a kneeling position, with one knee down and one up for the best balance.
The fire triangle is composed of oxygen, fuel, and a spark or heat. All three of these need to be present in order to build a good fire. That's why it's important not just to dump logs in, but to place them properly in an effective lay.
There are different types of fire lays. A pyramid lay is where you make a sort of tripod out of the logs. This leaves space inside for air to access the fire, and keeps the wood around so it can catch. A waffle lay is where the logs are laid flat and stacked on top of one another, like in a log cabin or jenga game. This gives it a bit more stability, while still allowing air flow. It's also better for cooking over, as it allows the cooking utensils to get closer to the heat.
The embers are the coals which are under the fire. They are the hottest part of the fire, and often glow white or red. They are the best part of the fire to use for cooking, and only develop after the fire has been burning for a while.
The flames aren't as hot as the embers, but they help the fire get started. We need to be careful not to burn ourselves as they can reach up quite high.
When building a fire, it's important to have landowner permission. If managing your own woodland, you could build in fire breaks, to mitigate fire risk. You should also always have a fire blanket and fire gloves, as well as plenty of water nearby, in case you need to manage the fire.
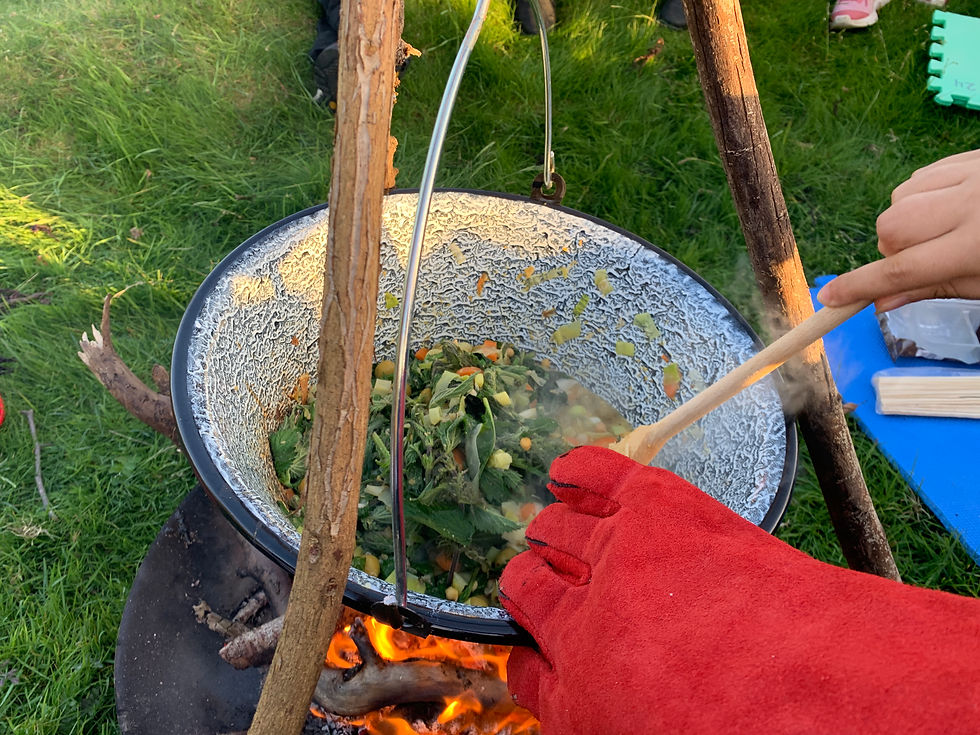
Cooking with Fire
When cooking over a fire, you want to be using the embers, as they are the hottest part of the fire. To get here, the fire must be burning hot for a while. You should then flatten the fire, and then you can cook.
You could hang a pot or a kettle from a tripod over the fire, or you could also place a grill tray over the fire and cook on that. Cast-iron dishes are great as they are heavy enough not to melt. Make sure you are using your fire gloves when tending to the fire or hot dishes.
There are additional food safety steps we need to take when cooking over the fire. Food should be kept on a table, not on the ground. Where possible, it's easiest and safest to pre-cut the ingredients at home, so they can just be poured into the pot and cooked outdoors. Meat and dairy are best avoided, to avoid any food poisoning. You also need to make sure you have adequate hand-washing facilities to make sure everyone has clean hands.
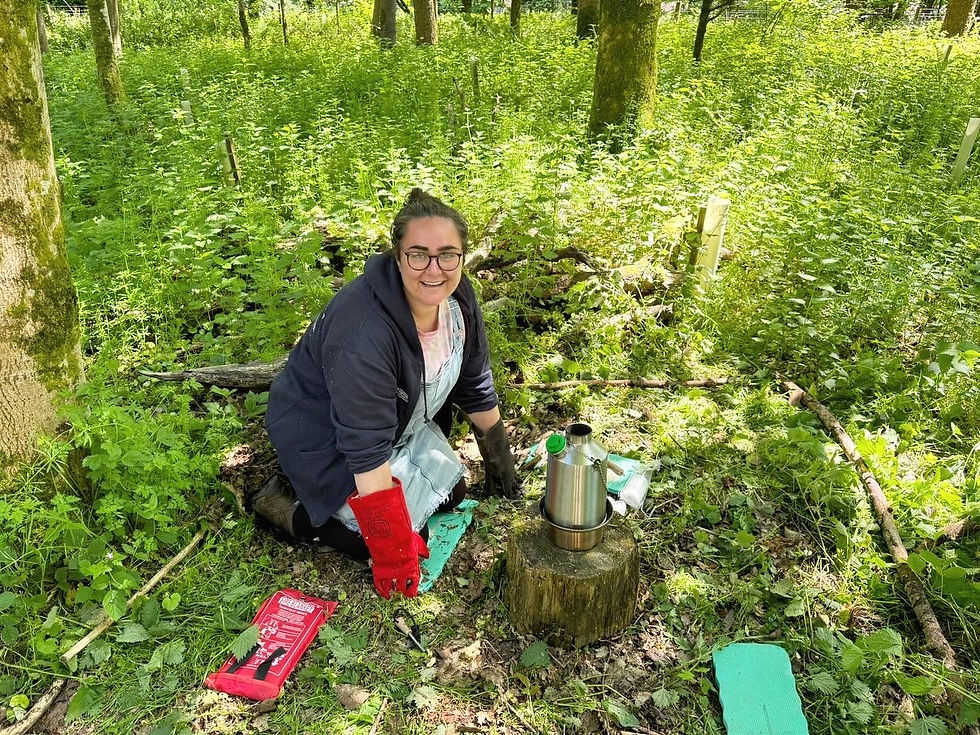
Using a Kelly Kettle
A Kelly Kettle is a quick and convenient way to boil water in the woods. It's a large, upright kettle with a hole in the middle and a pan underneath. You build the fire in the pan, and when it's lit, you place the kettle overtop. The fire goes up the centre, like a wee chimney, and heats the water quickly. It makes a whistling noise when it boils so you know it's ready.
When building the fire, there are additional safety precautions. Even though it's a smaller fire, you should still wear fire gloves, and have a fire blanket and water nearby. Avoid reaching over the centre hole of the kettle as it's very hot. When pouring the water, wear fire gloves, and pull up by the chain to avoid burns.
You should build the fire up on a stump or away from the ground so as to minimize ecological impact and fire risk. You should also maintain a clear fire circle to avoid accidents.
When finished, the fire should be properly extinguished, and all embers put out with water, or it could be moved into the main fire pit.
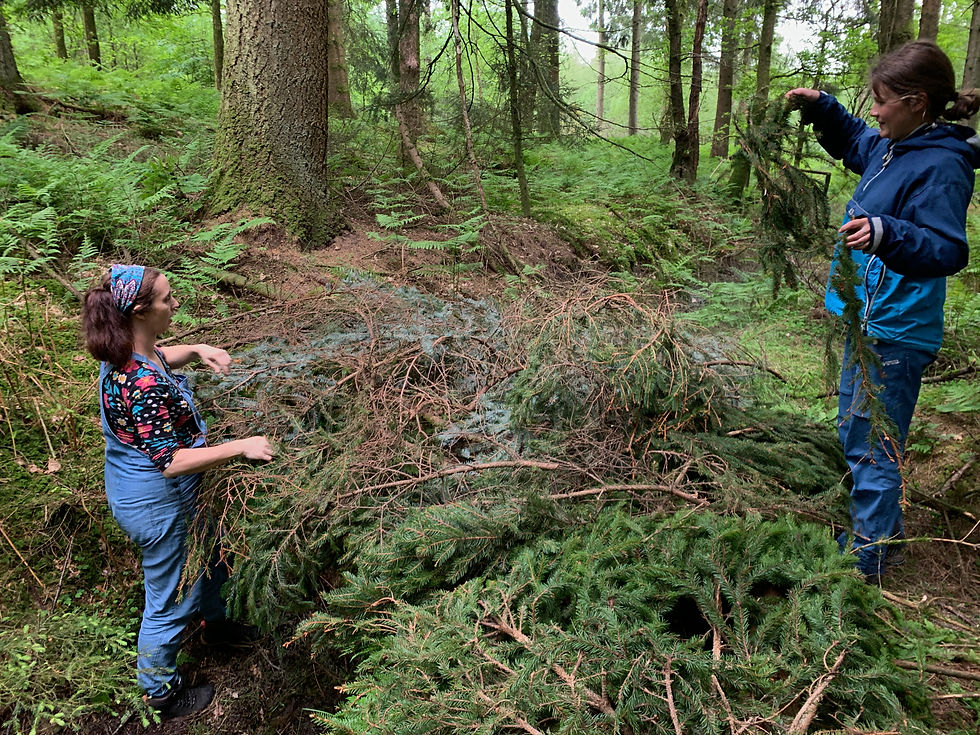
Woodland Shelters
All sorts of shelters can be made using logs, grasses, bracken and other natural materials found in the woods. This can be a fun activity as participants get to explore, work together and construct something real and tangible.
During the second week of training, we constructed this shelter inspired by badgers. We built it over a wee ditch, and covered it over with logs to act as support beams. We then covered over those with pine branches, for camoflage. Inside, we trimmed the ends to keep it tidy and comfy. It was actually amazing inside, super cozy and enjoyable, and we spent a long time just hanging out in there.
It's important to remove any non-natural materials you may have used, such as ropes, so that we're not leaving those in the woodland, and not to leave anything that would disrupt the wildlife or fall on another person.

Tarpauline Shelters
Tarps are great, because they're relatively quick and easy to put up, are incredibly diverse, and really protect you from the rain. One of my biggest learning from this course has been that we can enjoy and spend time outdoors in any weather, we just need to be prepared
The tarp has a rope tied on to each of the four corners. The ropes are then secured to a tree, or to the ground on one side if limited trees are available. If the tarp is going over a fire, it needs to be quite high up. You can do this by lassoing the rope over a high branch. You can also hang a high rope in the centre, so that any rain falls down the sides, and to protect from sideways rain. An angled tarpaulin will also help stop rain from pooling.
When finished, the tarp should be taken down. Cords should be untied and properly coiled. The tarpaulin should be folded, and when possible, dried out to prevent mould.
Knots and Cords
There are a number of knots that I've used in Forest School.
This is a clove hitch:
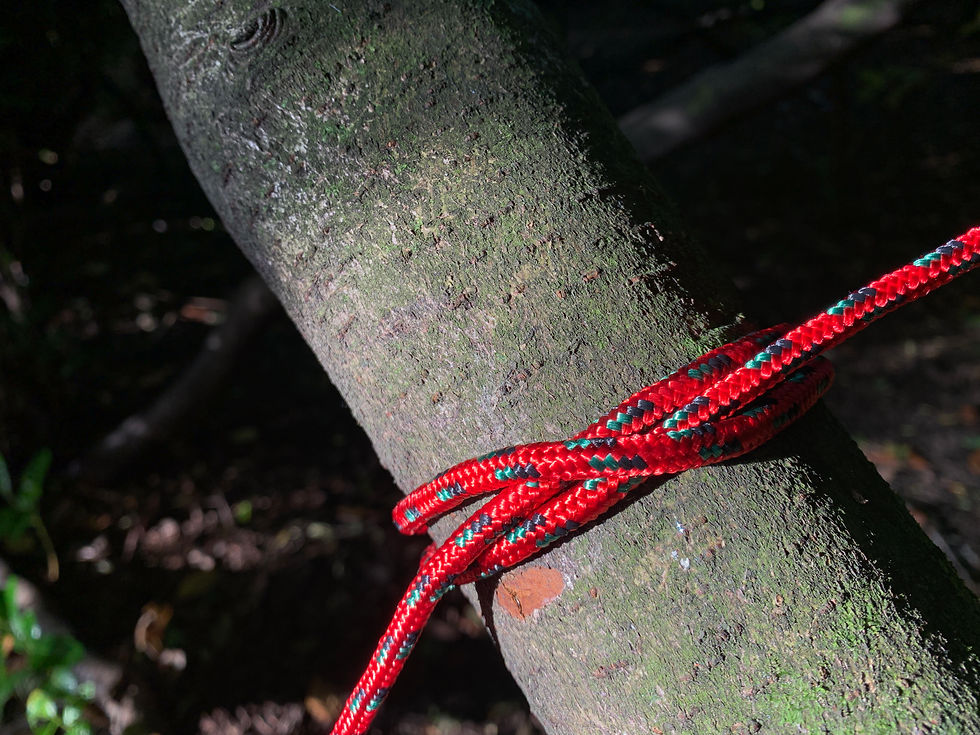
It's useful for tying a rope to a branch, especially when you can't slip it over, because one end is attached to the tree and the other is out of reach. It's quite a secure knot. It could also be used to tie a rock into the corner of a tarp to hang a rope from it if it doesn't have a hole.
Though not in the woods, I used it to secure the edges of this tarp during a children's retelling of the biblical story of Jonah at my synagogue:
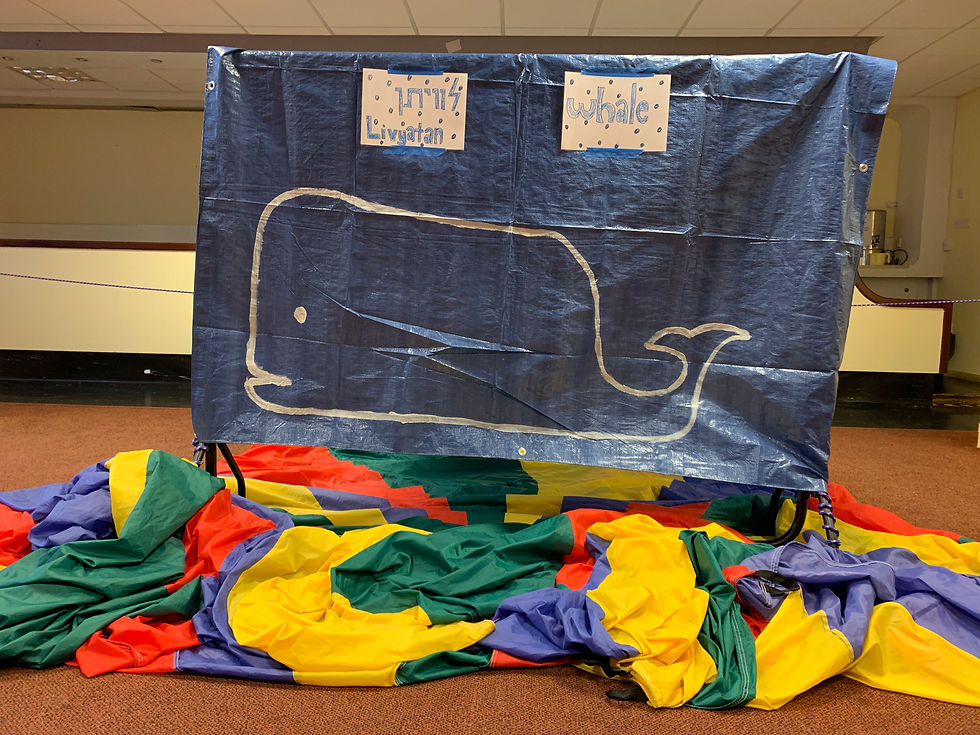
This is a bowline knot:
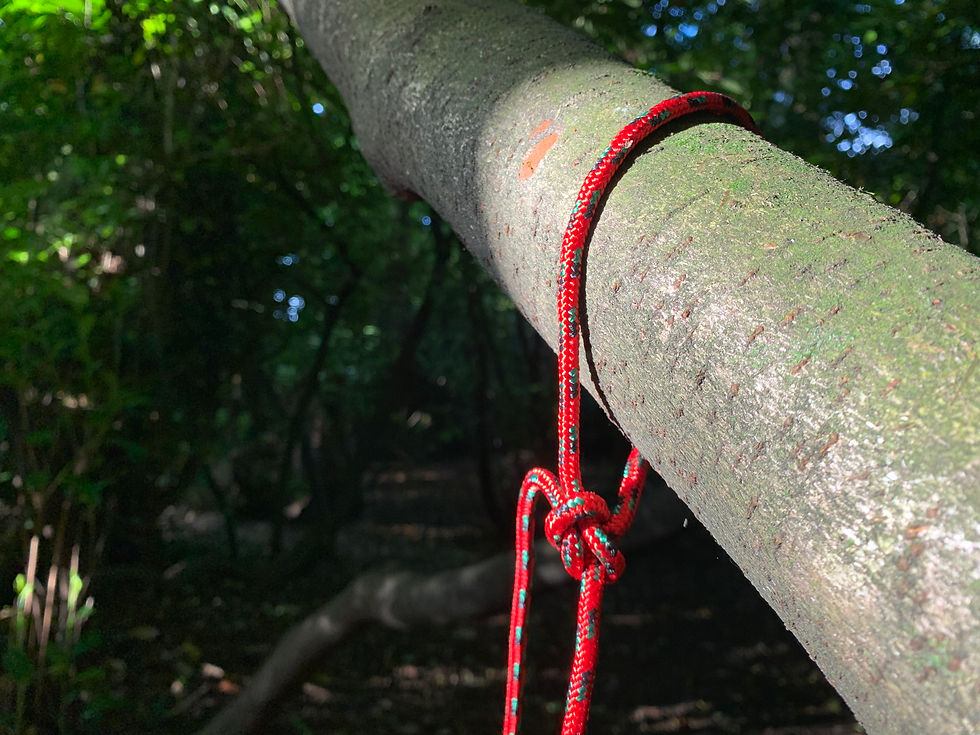
It's quite tight and secure, and not too easily undone, so it's good for heavy jobs. Once tightened, you can't adjust the size of the loop. I used it to secure the knots on this rope swing I made:
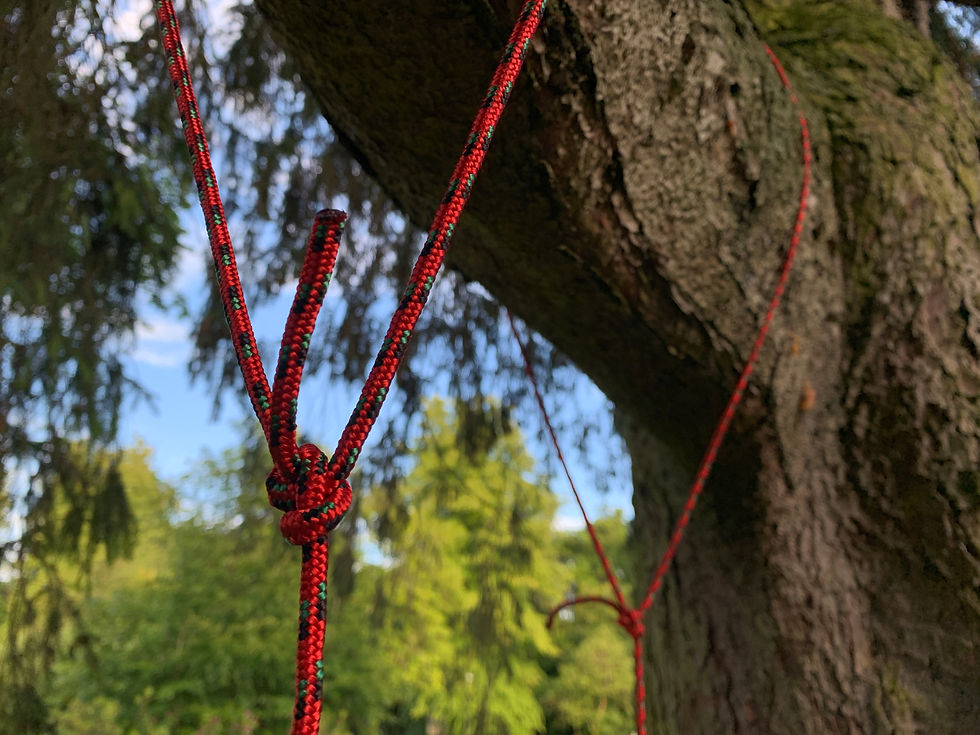
It was good because I could tie the knot low down and close to me, without having to reach up to secure it around the branch, and I knew it wasn't going anywhere.
This is a taut-line hitch:
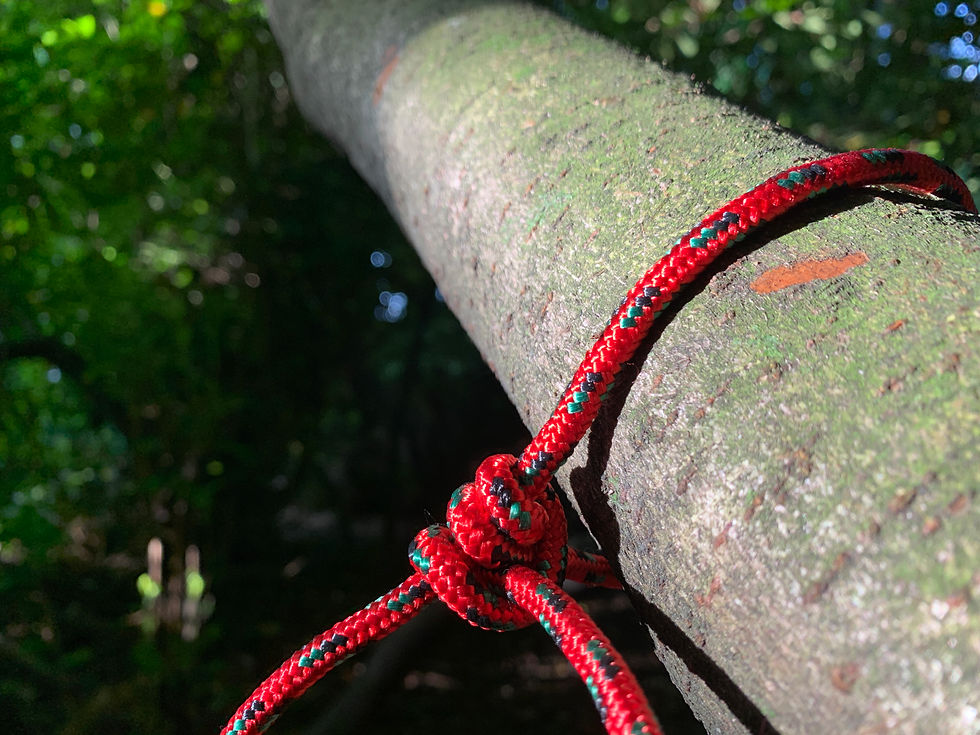
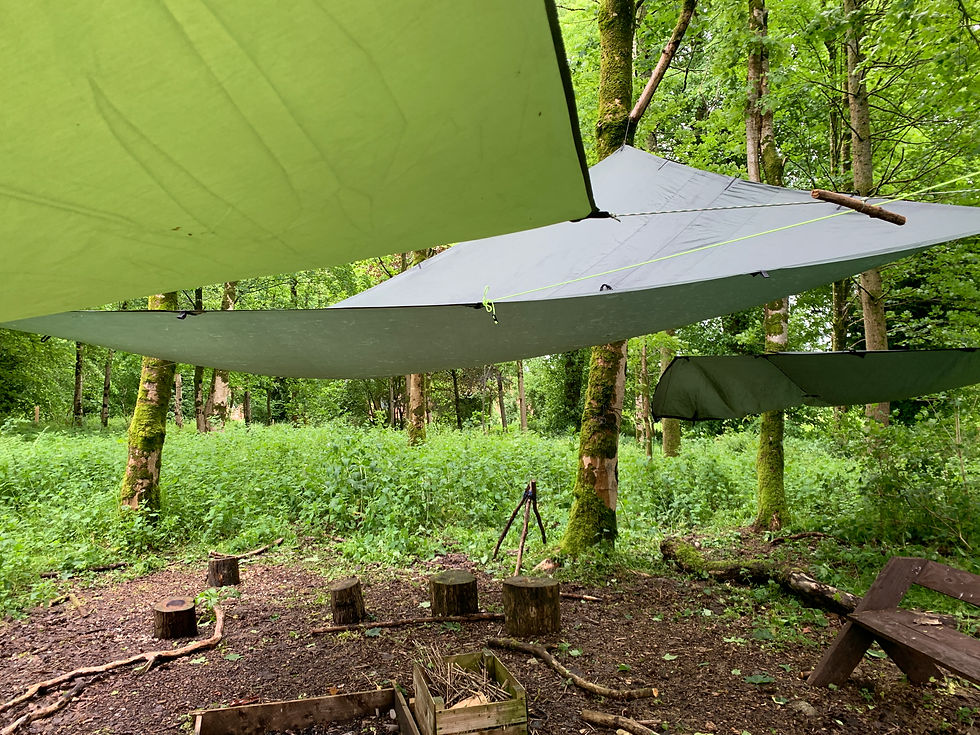
It's a useful knot because the tension can be adjusted by pulling the knot along the rope, so helpful for things like connecting a tarp to a tree. I used it when hanging this tarp city with Jess during the course:
This is a timber hitch:
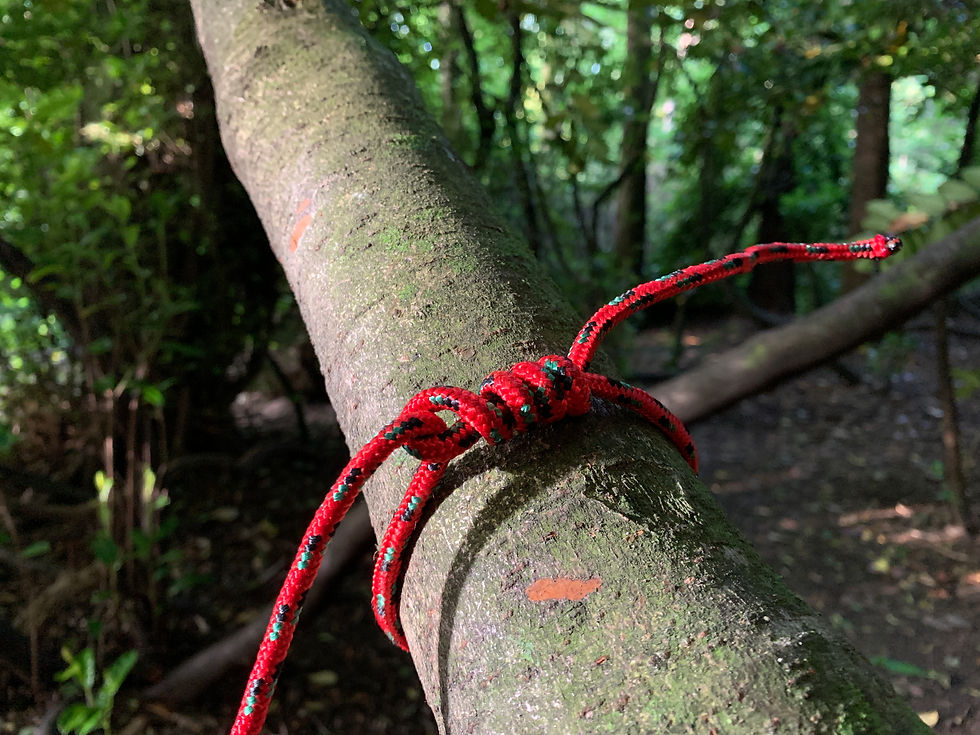
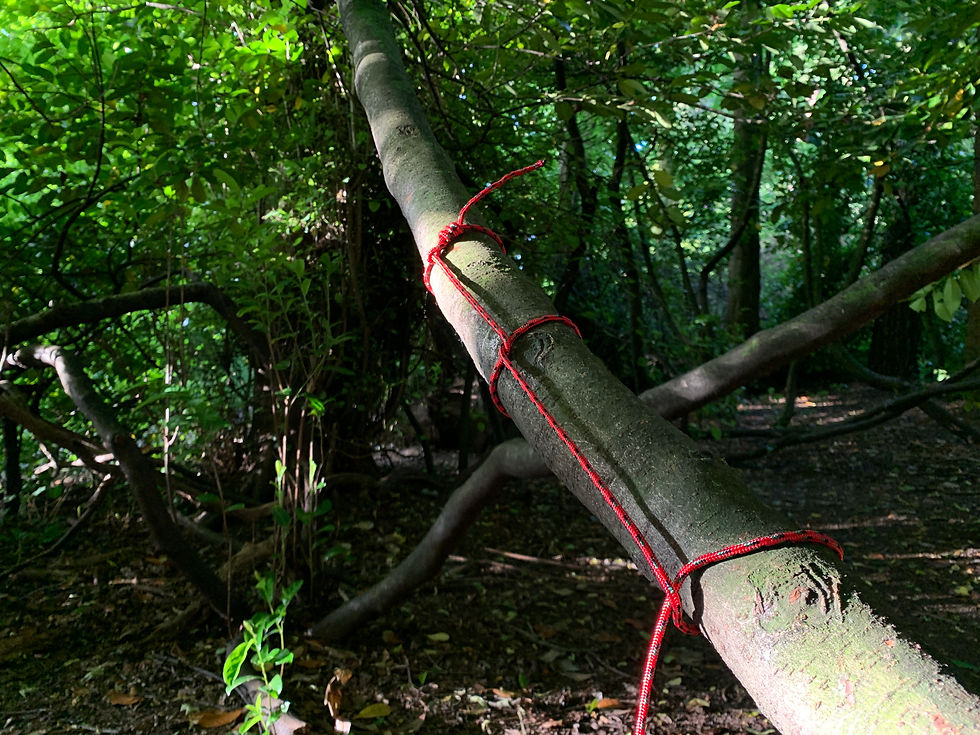
It's used to tie a rope around a single log, or something that you want to pull. It's an easy knot to untie, even if it's had a great weight on it, so it's good if you need to pull something heavy. If you're pulling multiple logs together and want to keep them in order, you can extend it into a killick hitch:
This is a round turn and two half-hitches:
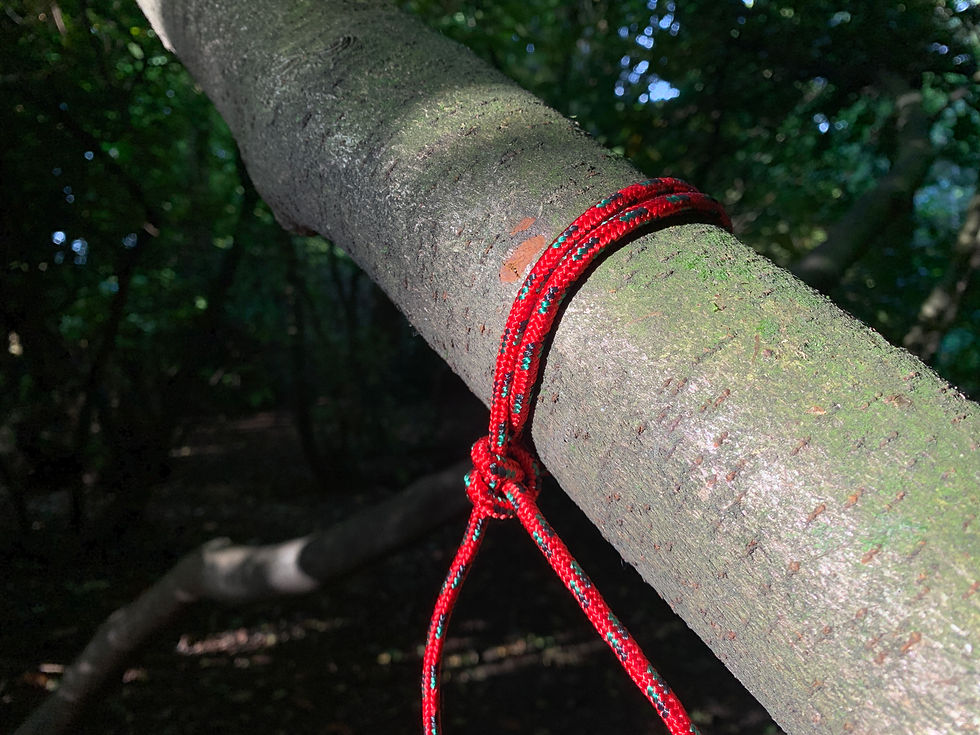
It's pretty secure and so useful to secure a rope to a post.
After use, the cords should be properly untied, so they're ready for next time. Best practice is to singe the ends with a flame so that they don't unravel. They should also be kept clean and dry.
After tying a knot, if there is excess cord hanging, it should be secured, so that no one trips on it, and it doesn't get caught around anything. One way to do this is to coil it up and secure it. Another is to do many slip knots to use up the length of rope, ensuring that there are no loops big enough for a limb or head to go through.
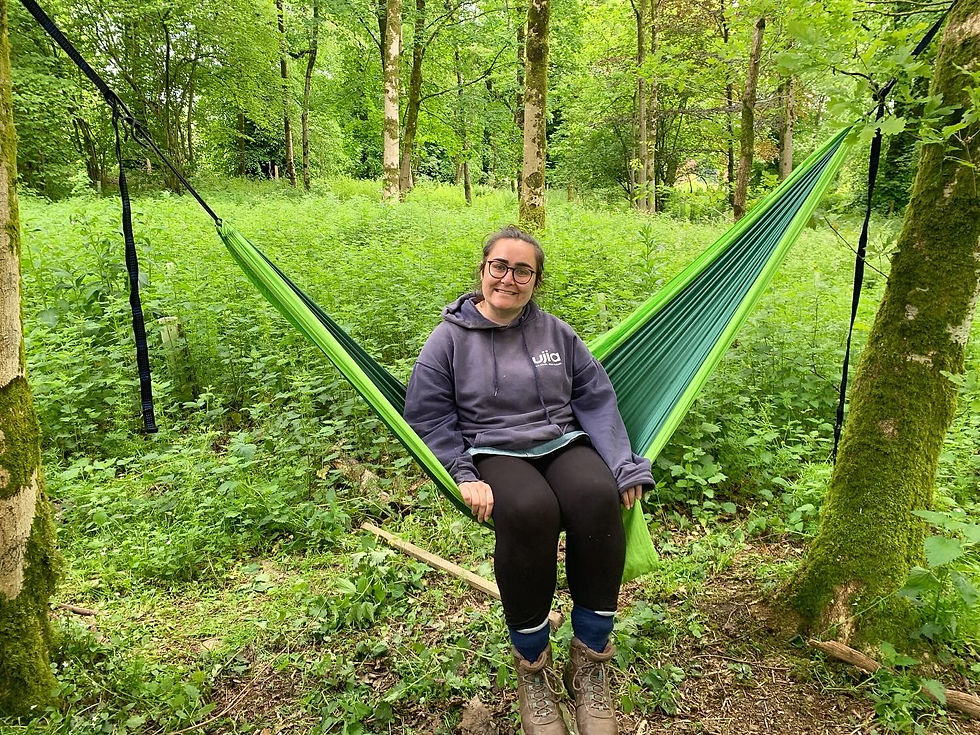
I also use knots in other ways, like to tie up a hammock:
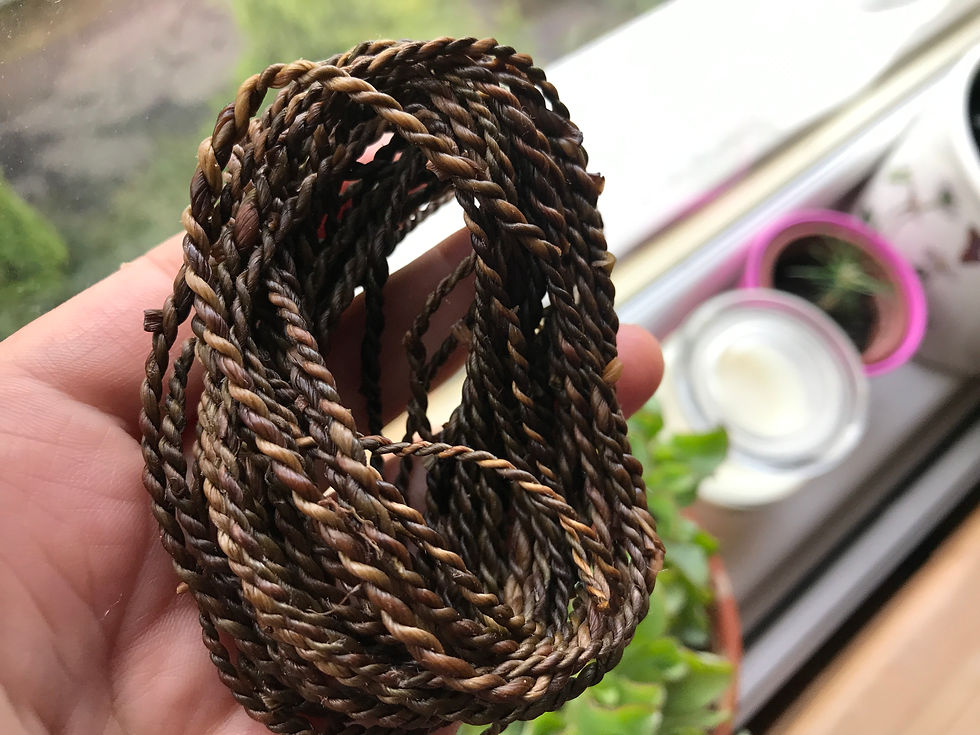
I've been experimenting a lot with natural cordage:
During the course I also made this hanging art with sticks and wool and lashing:


Comments